The lettering on the front is made with water slide decals printed with a laser printer. After applying, several coats of satin lacquer were sprayed on to protect the lettering.

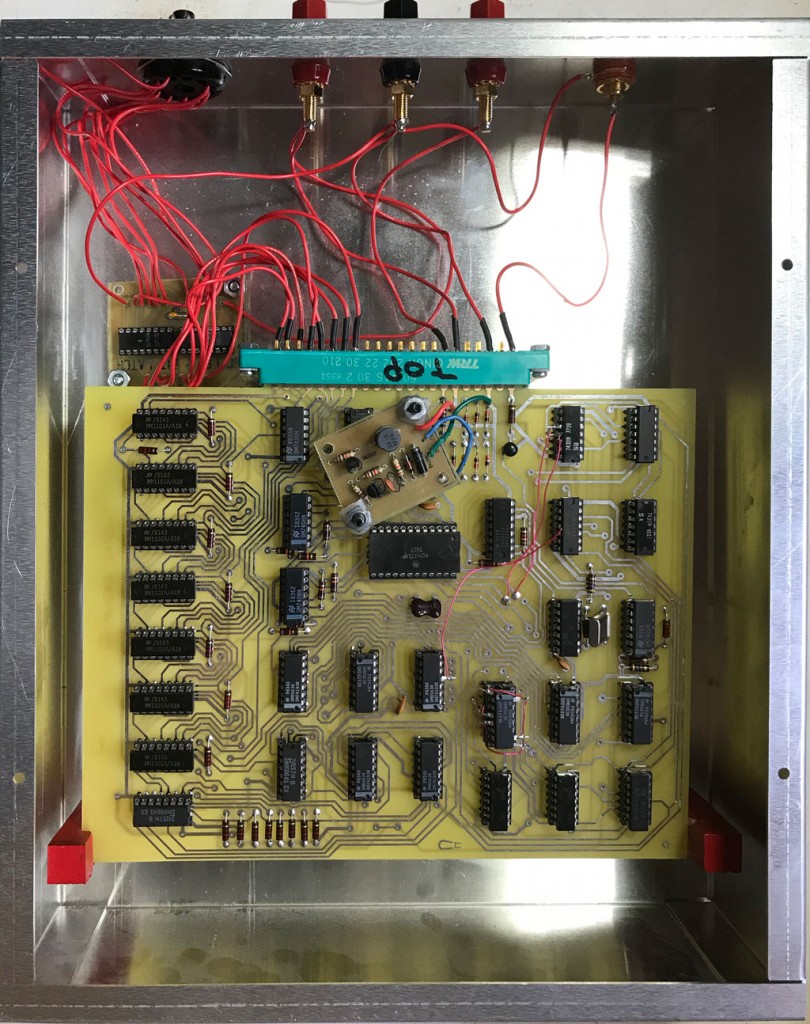
There is only one edge connector for this double wide card. I decided this wasn’t enough support so I added those red blocks seen towards the bottom of this image. The small card on the upper left hand corner is used to latch the SCELBI output.
In a way, this is a project that doesn’t want to end. I still have to get some kind of demo application going and update my OS/X emulator to support this card. I’ll probably do the later, first, as it is easier to debug with the emulator than on the real system.

Very nice. I never considered water slide decals for front panels (I figured that they would rub off pretty quickly). What kind of lacquer did you use? I’m a little surprised that it didn’t interact with the decals, causing bubbles or dissolving/smearing them.
I use Minwax brand satin spray lacquer. I have not had problems with the lacquer affecting laser decals. Laser ink is made up of a plastic type material, so it resists some kinds of solvents fairly well. I believe that original SCELBI enclosures which used fragile letraset rub on lettering were also clear coated with lacquer.
I’ve tried the dry transfer lettering a couple of times in the past and had them curl away from the surface (carefully cleaned and dried before the transfer) as soon as I tried to clear coat them. They then broke into pieces as I tried to gently press them back into place with a q-tip. I’ve since used a label maker with clear tape. This works and is durable but, of course, the font is limited and the look isn’t quite right. I’ll try decals the next time.
Most of my SCELBI enclosures use dry transfer lettering – I never had an issue with over spraying them. It’s hard to tell the difference between the dry transfer and decals, but if you look very closely, you can detect the decal film that doesn’t exist with dry transfers.